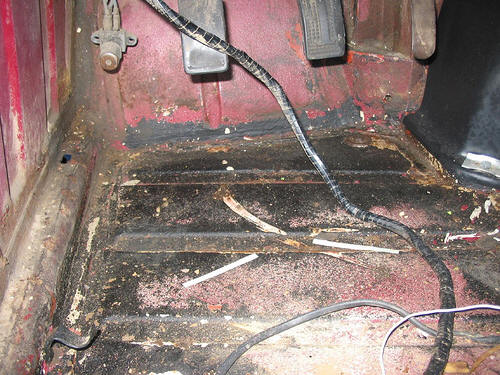
Showing the appearance of the driver's side floorpan before I started work on it:
There is rusting through at the end of the rail. The passenger side is about the same, marginally worse.
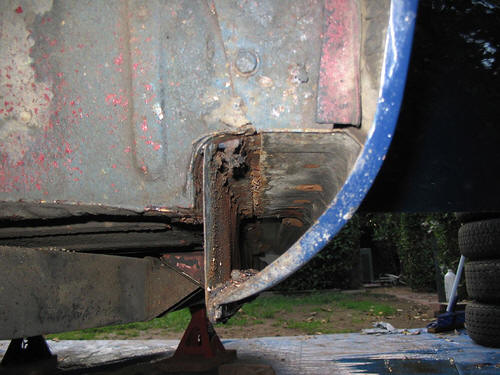
Oddly, the car looks like it has had new fenders installed at some point, but the sealing pieces have not been fitted. So daylight is visible through the rust holes! In fact the sill cavities are open from end to end, on each side of the car! Here's looking backwards from the front driver-side wheel arch:
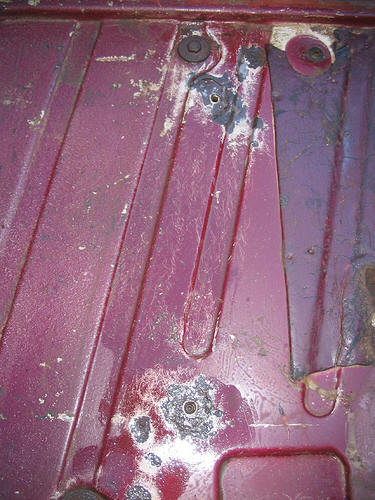
Here is the driver's side footwell after some scraping away of paint and rubbery sealant:

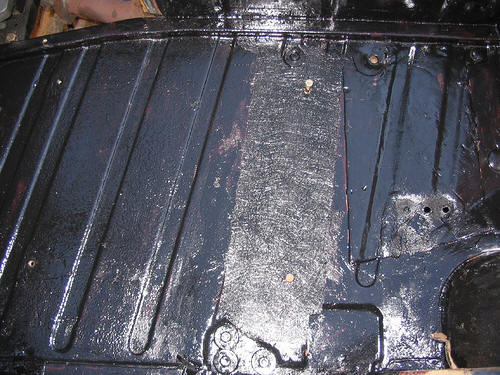
After some more scraping, priming with POR15 cleaner and metal prep, I was ready to apply POR15 itself.
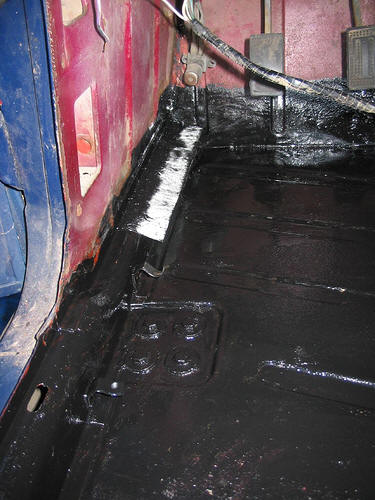
There appeared to be some stress cracks around the rear mount holes for the driver's seat. You can barely see them in the photo below:
I used a sheet of fibreglass to strengthen the area. This is quite easy to apply with POR15: first put on a coat of POR15 then, while the paint is still wet, lay the fibreglass on top, and apply more POR15 over it. The POR15 cures the fibreglass, and the result is rock hard.
To close and strengthen the front of the footwell I also used fibreglass. This shows a piece halfway through being POR15ed to the body.
Here's the passenger side footwell, before and after fibreglass/POR15 treatment:

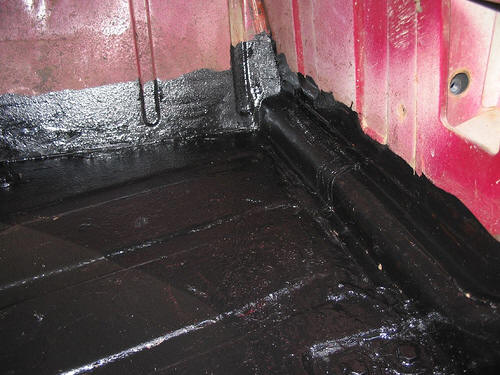
I used two grades of fibreglass: some rather thick stuff that looked like it was made of lots of randomly orientated strands (for strengthening the seat area and at the front of the driver footwell), and some much more pliable, thinner stuff that looked like square weave, for the other places. The latter was much easier to work with as it would "stick down" and mould to a contour just by simple application of pressure with the foam brush.
Back to Overview